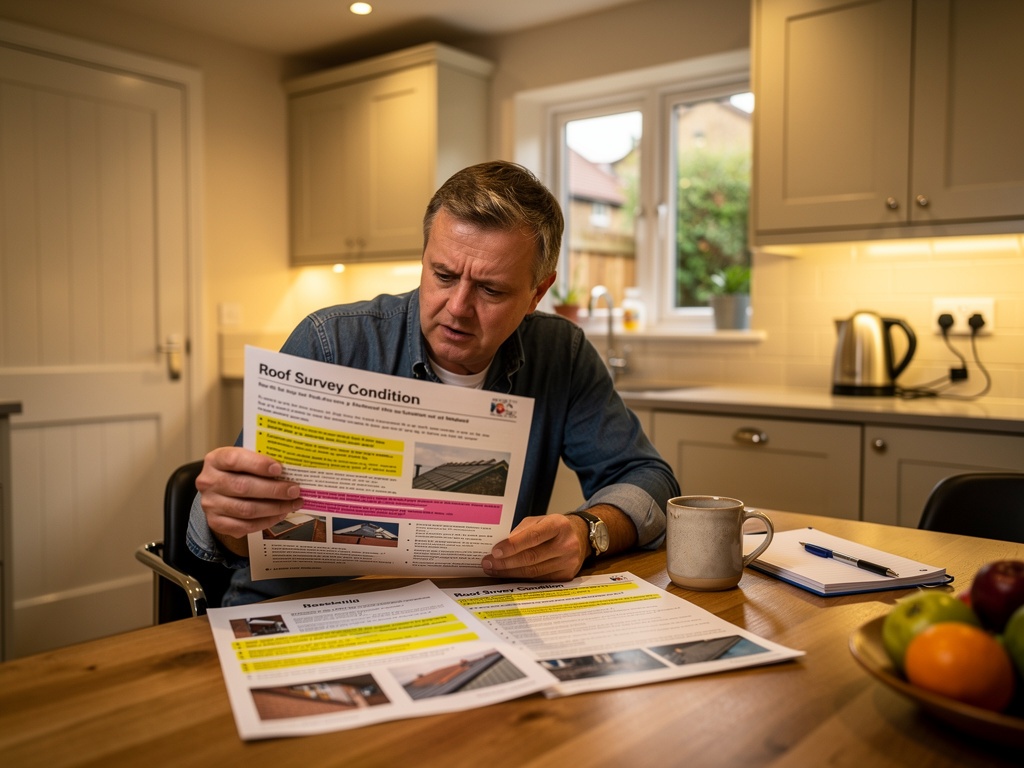
You've received your roof survey report. It's 15 pages long, contains photographs of things you don't recognise, and uses terms like "nail sickness", "upstand flashing", and "ponding" with what feels like cheerful abandon. Don't panic. This guide will walk you through every section of a typical Roof Surveyor London report, explain what the condition ratings mean, decode the technical language, and — most importantly — help you understand what you actually need to do next.
Why Roof Survey Reports Are Worth Understanding Properly
A roof survey report is not just a piece of paper. Used correctly, it is a powerful tool. For a property buyer, it can be the basis for a price negotiation that saves thousands of pounds. For a homeowner, it is a maintenance roadmap that prevents small problems from becoming expensive emergencies. For a landlord, it is legal documentation of the property's condition at a specific date. Understanding it fully is the difference between having useful information and having an anxiety-inducing document you don't know what to do with.
The good news is that a well-written roof survey report is designed to be understood. Roof Surveyor London writes all our reports in plain English, with technical terms explained in context. But even with that commitment, the structure, rating system, and terminology of a professional survey report can feel unfamiliar the first time you read one. This guide addresses that.
The Structure of a Typical Roof Survey Report
Most professional roof survey reports follow a logical structure that reflects the physical inspection process. Understanding how the report is organised makes it much easier to read.
The cover sheet and property details come first. This records the address, the date of inspection, the weather conditions on the day (relevant because some defects are more visible in certain conditions), the name and accreditation of the surveyor, and the client's details. Check these carefully — errors here occasionally cause confusion about which property is being reported on.
The executive summary follows in most reports. This is a brief overview of the roof's overall condition and the key findings. If you're pressed for time, start here. The executive summary will tell you whether the roof is broadly sound with minor maintenance needed, or whether there are significant concerns that require prompt action. It won't tell you everything, but it will tell you how urgently you need to read the rest of the report.
The inspection methodology section explains how the survey was carried out — what access method was used (ladder, drone, scaffold, or internal hatch), what areas were inspected, and any limitations on the inspection (for example, where access was not possible). Reading this section helps you understand the scope and confidence level of the report's findings.
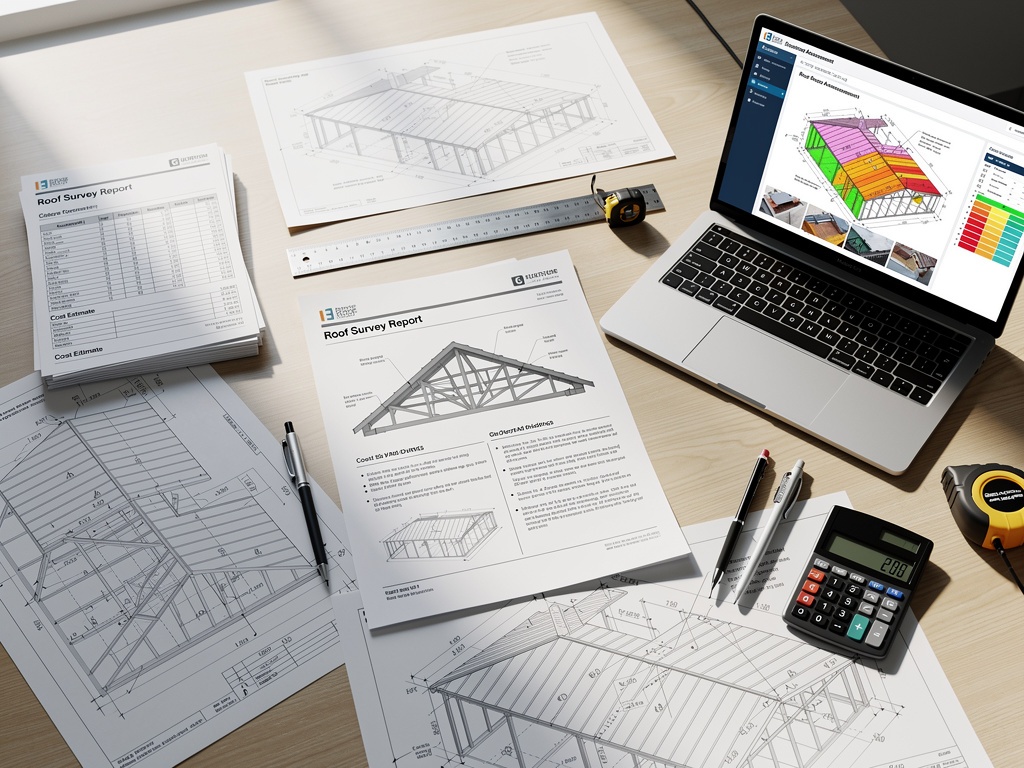
The condition assessment sections form the main body of the report. These are organised by roof element — pitched roof covering, flat roof sections, chimney stacks, flashings, gutters, fascias, soffits, and roof structure. Each element is described, photographed, and given a condition rating.
The recommendations and priorities section summarises the actions required, listed in order of urgency. This is perhaps the most practically useful section for most readers, as it translates the condition assessment into a clear action list.
Appendices typically include additional photographs, sketch plans if appropriate, and any supplementary information such as moisture meter readings or thermal imaging results if these were included in the survey scope.
Understanding Condition Ratings
Every professional roof survey report uses a condition rating system to classify the severity of any issues found. Different surveyors use slightly different systems, but most follow a four or five-point scale. Here is how to interpret the most common rating systems:
Some reports add a fifth category — Critical / Condition 4 or Urgent — for issues that require immediate attention: active leaks, structural instability, or safety hazards. If your report contains any elements in this category, these should be your absolute first priority — before exchange of contracts if you're buying, or before your next tenancy if you're a landlord.
Decoding the Technical Language
Even in a plain-English report, some specialist terms are unavoidable. Here is a glossary of the terms most commonly encountered in UK roof survey reports:
- Flashing
- A piece of metal (usually lead, zinc, or aluminium) used to weatherproof the junction between the roof covering and another element — a chimney stack, a parapet wall, a dormer, a roof window, or an abutment. When flashings fail, water runs along the junction and into the roof structure. "Step flashing" refers to the individual pieces that step up alongside a chimney or parapet; "apron flashing" is the single piece at the base of a vertical element.
- Pointing / Repointing
- The mortar between brickwork courses or the mortar bedding ridge, hip, and verge tiles. When mortar erodes or cracks, it allows water into the structure. Repointing is the process of removing old mortar and replacing it with new. On chimney stacks, repointing is one of the most common maintenance requirements.
- Nail Sickness
- A condition affecting natural slate roofs. The iron or steel nails used to fix slates corrode over time, losing their grip. The slates themselves may be in excellent condition, but nail sickness causes them to slip or fall. Re-slating with new fixings can extend the roof's life without replacing the slates.
- Upstand / Upstand Flashing
- The section of a flat roof membrane or flashing that turns up against a vertical element (wall, parapet, or chimney) to prevent water tracking back under the roof covering. Upstands frequently fail at flat roof perimeter details and are a common source of water ingress on flat-roofed extensions.
- Ponding
- Water pooling on a flat roof surface due to inadequate drainage falls. All flat roofs should be designed to drain completely. Persistent ponding accelerates deterioration of the waterproof membrane and indicates that the falls were incorrectly set during installation or have settled unevenly over time.
- Fascia and Soffit
- The fascia is the vertical board fixed to the rafter ends at the eaves; the soffit is the horizontal board beneath. Both are typically timber or uPVC, and they form the closure between the eaves and the external wall. Rotten fascias allow water into the wall cavity; missing or damaged soffits allow birds and pests to access the roof void.
- Delamination
- The splitting of a natural slate or tile along its internal layers. Delaminating slates absorb more moisture, become heavier, and eventually break up entirely. A high proportion of delaminating slates indicates the roof is approaching end of life.
- Valley
- The internal angle where two roof slopes meet. Valleys are typically lined with lead, zinc, or a proprietary valley trough tile. They carry significant volumes of water and are a common failure point, particularly if the valley lining has been improperly installed or has deteriorated with age.
- Ridge / Hip
- The ridge is the horizontal apex where two roof slopes meet at the top of the roof; the hip is a sloped external angle. Both are typically finished with specially shaped ridge or hip tiles, bedded in mortar. Failed mortar at ridges and hips is extremely common and allows wind-driven water into the roof void.
What to Do With Your Roof Survey Report
Once you've read and understood your report, you need to decide what to do with it. The right course of action depends entirely on your situation.
If you're a property buyer and the report identifies significant issues, your first step is to get indicative repair costs from a reputable roofing contractor — or ask your surveyor if they can provide cost estimates, as many do. With those figures in hand, you have three options: renegotiate the purchase price downwards to reflect the required works; ask the vendor to carry out specific repairs before completion; or — if the issues are very significant — reconsider whether the purchase makes financial sense. The survey report is your evidence in any negotiation, and a clearly written report from an accredited professional carries real weight.
If you're a homeowner who has commissioned the survey for maintenance planning purposes, the recommendations section of your report is your maintenance roadmap. Work through the Condition 3 items first, then plan the Condition 2 items over the next 1–3 years. Keep a copy of the report — it is useful documentation when you come to sell, and it may be relevant if an insurance claim becomes necessary.
If you're a landlord, the report documents the condition of the roof at a specific date. Act on any Condition 3 or Condition 2 items promptly, keep all records of works completed, and commission a follow-up survey every 2–3 years to maintain a documented maintenance history.
You Can Always Call Us to Discuss Your Report
If you receive a Roof Surveyor London report and have questions about any finding, rating, or recommendation, simply call or email us. Our surveyor will be happy to talk you through the report, clarify any terminology, and advise on next steps. We write reports to be understood — and we're always available to help if any part of yours isn't clear.
How long is a roof survey report valid for?
My report says "further investigation is recommended" for several items — what does that mean?
Can I use my roof survey report to get roofing quotes?

Sarah writes and quality-checks all Roof Surveyor London reports before they are delivered to clients. Her commitment is to reports that are technically rigorous, photographically comprehensive, and written in a way that any homeowner can understand and act on without needing a surveying degree.
Ready to Commission Your Roof Survey?
Independent expert roof surveys with clear, plain-English reports. Delivered within 48 hours. Available across the whole of the UK.